1、 初始化交換機
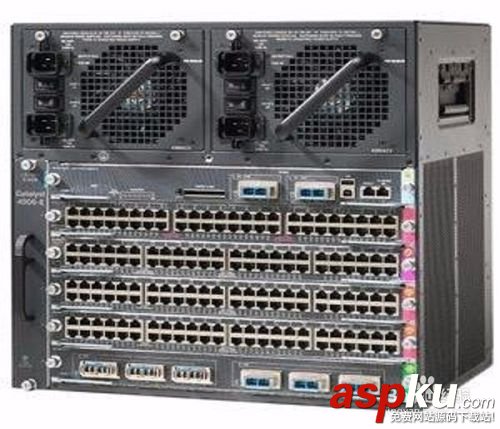
Cisco9148 SAN交換機首次配置時,需要先做初始化設置,設置完成后才可以登錄圖形化界面。
使用隨機自帶的串口調試線纜進行連接,進行如下配置。
Enter the password for "admin":
Confirm the password for "admin":
---- Basic System Configuration Dialog ----
This setup utility will guide you through the basic configuration of
the system. Setup configures only enough connectivity for management
of the system.
Please register Cisco MDS 9000 Family devices promptly with your
supplier. Failure to register may affect response times for initial
service calls. MDS devices must be registered to receive entitled
support services.
Press Enter at anytime to skip a dialog. Use ctrl-c at anytime
to skip the remaining dialogs.
Would you like to enter the basic configuration dialog (yes/no): y
Create another login account (yes/no) [n]: <Enter>
Configure read-only SNMP community string (yes/no) [n]: <Enter>
Configure read-write SNMP community string (yes/no) [n]: <Enter>
Enter the switch name : localhost
Continue with Out-of-band (mgmt0) management configuration? (yes/no) [y]: <Enter>
Mgmt0 IPv4 address : 10.77.77.77
Mgmt0 IPv4 netmask : 255.255.255.0
Configure the default gateway? (yes/no) [y]: n
Configure advanced IP options? (yes/no) [n]: <Enter>
Enable the ssh service? (yes/no) [y]: n
Enable the telnet service? (yes/no) [n]: y
Enable the http-server? (yes/no) [y]: <Enter>
Configure clock? (yes/no) [n]: <Enter>
Configure timezone? (yes/no) [n]: <Enter>
Configure summertime? (yes/no) [n]: <Enter>
Configure the ntp server? (yes/no) [n]: <Enter>
Configure default switchport interface state (shut/noshut) [shut]: <Enter>
Configure default switchport trunk mode (on/off/auto) [on]: auto
Configure default switchport port mode F (yes/no) [n]: <Enter>
Configure default zone policy (permit/deny) [deny]: <Enter>
Enable full zoneset distribution? (yes/no) [n]: <Enter>
Configure default zone mode (basic/enhanced) [basic]: <Enter>
The following configuration will be applied:
password strength-check
switchname localhost
interface mgmt0
ip address 10.77.77.77 255.255.255.0
no shutdown
no feature ssh
feature telnet
feature http-server
system default switchport shutdown
system default switchport trunk mode auto
no system default zone default-zone permit
no system default zone distribute full
no system default zone mode enhanced
Would you like to edit the configuration? (yes/no) [n]: <Enter>
Use this configuration and save it? (yes/no) [y]: <Enter>
[########################################] 100%
到此,設備初始化完成。
2、打開IE瀏覽器,在地址欄輸入配置好的IP地址(http://10.77.77.77),打開如下界面。
3、點擊上圖中的“Cisco Device Manager”打開如下界面。
4、點擊上圖中的“Continue”,打開如下界面。
5、點擊上圖中的“Next”,進行軟件的安裝。
點擊“下一步”
點擊“Install”
點擊“是”,開始安裝軟件。
6、軟件安裝完成后,打開如下界面,在密碼欄輸入設置好的密碼“123ibm!@#IBM”。
7、點擊“Open”,打開控制界面。
8、點擊“FC->Quick Config”,打開配置界面。
9、在打開的控制界面中,進行zone的設置。
點擊“Next”,查看zone的設置是否正確。
點擊“Finish”,完成zone的配置。
10、在命令行中,運行如下命令,查看zone是否激活。
admin# show zone active
zone name Z_FC1_5_FC1_1_V1 vsan 1
* fcid 0xb80500 [interface fc1/5 swwn 20:00:00:05:73:da:b1:50]
* fcid 0xb80000 [interface fc1/1 swwn 20:00:00:05:73:da:b1:50]
zone name Z_FC1_5_FC1_2_V1 vsan 1
* fcid 0xb80500 [interface fc1/5 swwn 20:00:00:05:73:da:b1:50]
* fcid 0xb80200 [interface fc1/2 swwn 20:00:00:05:73:da:b1:50]
zone name Z_FC1_6_FC1_3_V1 vsan 1
* fcid 0xb80400 [interface fc1/6 swwn 20:00:00:05:73:da:b1:50]
* fcid 0xb80100 [interface fc1/3 swwn 20:00:00:05:73:da:b1:50]
zone name Z_FC1_6_FC1_4_V1 vsan 1
* fcid 0xb80400 [interface fc1/6 swwn 20:00:00:05:73:da:b1:50]
* fcid 0xb80300 [interface fc1/4 swwn 20:00:00:05:73:da:b1:50]
zone name $default_zone$ vsan 1
11、運行如下命令,查看zoneset是否已保存成功。
admin# show zoneset
zoneset name ZONESET_V1 vsan 1
zone name Z_FC1_5_FC1_1_V1 vsan 1
interface fc1/5 swwn 20:00:00:05:73:da:b1:50
interface fc1/1 swwn 20:00:00:05:73:da:b1:50
zone name Z_FC1_5_FC1_2_V1 vsan 1
interface fc1/5 swwn 20:00:00:05:73:da:b1:50
interface fc1/2 swwn 20:00:00:05:73:da:b1:50
zone name Z_FC1_6_FC1_3_V1 vsan 1
interface fc1/6 swwn 20:00:00:05:73:da:b1:50
interface fc1/3 swwn 20:00:00:05:73:da:b1:50
zone name Z_FC1_6_FC1_4_V1 vsan 1
interface fc1/6 swwn 20:00:00:05:73:da:b1:50
interface fc1/4 swwn 20:00:00:05:73:da:b1:50
12、兩臺交換機中的WWN號。
