繪制基本圖形
一、簡(jiǎn)單說明
圖形上下文(Graphics Context):是一個(gè)CGContextRef類型的數(shù)據(jù)
圖形上下文的作用:保存繪圖信息、繪圖狀態(tài)
決定繪制的輸出目標(biāo)(繪制到什么地方去?)(輸出目標(biāo)可以是PDF文件、Bitmap或者顯示器的窗口上)
相同的一套繪圖序列,指定不同的Graphics Context,就可將相同的圖像繪制到不同的目標(biāo)上。
Quartz2D提供了以下幾種類型的Graphics Context:
Bitmap Graphics Context
PDF Graphics Context
Window Graphics Context
Layer Graphics Context
Printer Graphics Context
只要上下文不同,繪制的地方就不同。
本文說明如何把圖片繪制到Bitmap上面去,即要求生成一張圖片,圖片上面保存了繪圖信息。
Bitmap就是圖片,相當(dāng)于系統(tǒng)的UIimage。一個(gè)UIImage就是一個(gè)Bitmap
二、怎么把圖片繪制到Bitmap上?
注意:不能在drawRect:方法中直接獲取Bitmap的上下文,需要我們自己進(jìn)行創(chuàng)建。
代碼示例:
//
// YYViewController.m
// 06-繪制基本圖形
//
// Created by apple on 14-6-22.
// Copyright (c) 2014年 itcase. All rights reserved.
//
#import "YYViewController.h"
@interface YYViewController ()
@property (weak, nonatomic) IBOutlet UIImageView *iv;
@end
@implementation YYViewController
- (void)viewDidLoad
{
[super viewDidLoad];
//加載圖片
//0.創(chuàng)建一個(gè)Bitmap上下文
//c語(yǔ)言的方法
// CGBitmapContextCreate(<#void *data#>, <#size_t width#>, <#size_t height#>, <#size_t bitsPerComponent#>, <#size_t bytesPerRow#>, <#CGColorSpaceRef space#>, <#CGBitmapInfo bitmapInfo#>)
//oc中封裝的方法
//方法1
// UIGraphicsBeginImageContext(<#CGSize size#>);
//方法2
UIGraphicsBeginImageContextWithOptions( CGSizeMake(200, 200), NO, 0);
//1.獲取bitmap上下文
CGContextRef ctx = UIGraphicsGetCurrentContext();
//2.繪圖(畫一個(gè)圓)
CGContextAddEllipseInRect(ctx, CGRectMake(0, 0, 100, 100));
//3.渲染
CGContextStrokePath(ctx);
//4.獲取生成的圖片
UIImage *image=UIGraphicsGetImageFromCurrentImageContext();
//5.顯示生成的圖片到imageview
self.iv.image=image;
//6.保存繪制好的圖片到文件中
//先將圖片轉(zhuǎn)換為二進(jìn)制數(shù)據(jù),然后再將圖片寫到文件中
// UIImageJPEGRepresentation(image, 1); //第二個(gè)參數(shù)為保存的圖片的效果
NSData *data=UIImagePNGRepresentation(image);
[data writeToFile:@"/Users/apple/Desktop/abc.png" atomically:YES];
}
- (void)didReceiveMemoryWarning
{
[super didReceiveMemoryWarning];
// Dispose of any resources that can be recreated.
}
@end
程序執(zhí)行效果:
程序執(zhí)行完畢后,會(huì)在指定的位置創(chuàng)建一個(gè)abc.png的圖片
補(bǔ)充說明:
1.創(chuàng)建Bitmap圖形上下文的方法
//方法1 UIGraphicsBeginImageContext(<#CGSize size#>);
//方法2 UIGraphicsBeginImageContextWithOptions(CGSize size, BOOL opaque, CGFloat scale)
使用兩個(gè)方法同樣都可以創(chuàng)建,但是使用第一個(gè)方法將來創(chuàng)建的圖片清晰度和質(zhì)量沒有第二種方法的好。
方法2接收三個(gè)參數(shù):
CGSize size:指定將來創(chuàng)建出來的bitmap的大小
BOOL opaque:設(shè)置透明YES代表透明,NO代表不透明
CGFloat scale:代表縮放,0代表不縮放
創(chuàng)建出來的bitmap就對(duì)應(yīng)一個(gè)UIImage對(duì)象
2.Quartz2D的內(nèi)存管理
使用含有“Create”或“Copy”的函數(shù)創(chuàng)建的對(duì)象,使用完后必須釋放,否則將導(dǎo)致內(nèi)存泄露
使用不含有“Create”或“Copy”的函數(shù)獲取的對(duì)象,則不需要釋放
如果retain了一個(gè)對(duì)象,不再使用時(shí),需要將其release掉
可以使用Quartz 2D的函數(shù)來指定retain和release一個(gè)對(duì)象。例如,如果創(chuàng)建了一個(gè)CGColorSpace對(duì)象,則使用函數(shù)CGColorSpaceRetain和CGColorSpaceRelease來retain和release對(duì)象。
也可以使用Core Foundation的CFRetain和CFRelease。注意不能傳遞NULL值給這些函數(shù)
自定義UIImageView控件
一、實(shí)現(xiàn)思路
Quartz2D最大的用途在于自定義View(自定義UI控件),當(dāng)系統(tǒng)的View不能滿足我們使用需求的時(shí)候,自定義View。
使用Quartz2D自定義View,可以從模仿系統(tǒng)的ImageView的使用開始。
需求驅(qū)動(dòng)開發(fā):模仿系統(tǒng)的imageview的使用過程
1.創(chuàng)建
2.設(shè)置圖片
3.設(shè)置frame
4.把創(chuàng)建的自定義的view添加到界面上(在自定義的View中,需要一個(gè)image屬性接收image圖片參數(shù)->5)。
5.添加一個(gè)image屬性(接下來,拿到image之后,應(yīng)該把拿到的這個(gè)image給渲染出來。怎么渲染?自定義的view怎么把圖片顯示出來?->把圖片給畫出來,所以需要重寫自定義View的drawRect:方法)。
6.重寫自定義View的drawRect:方法,在該方法內(nèi)部畫出圖形。
二、代碼實(shí)現(xiàn)
系統(tǒng)自帶的ImageView的使用
//
// YYViewController.m
// 02-自定義UIimageview
//
// Created by apple on 14-6-22.
// Copyright (c) 2014年 itcase. All rights reserved.
//
#import "YYViewController.h"
@interface YYViewController ()
@end
@implementation YYViewController
- (void)viewDidLoad
{
[super viewDidLoad];
//系統(tǒng)的UIImageview的使用
// 1.創(chuàng)建一個(gè)UIImageView
UIImageView *iv=[[UIImageView alloc]init];
// 2.設(shè)置圖片
iv.image=[UIImage imageNamed:@"me"];
// 3.設(shè)置frame
iv.frame=CGRectMake(100, 100, 100, 100);
// 4.把創(chuàng)建的自定義的view添加到界面上
[self.view addSubview:iv];
}
@end
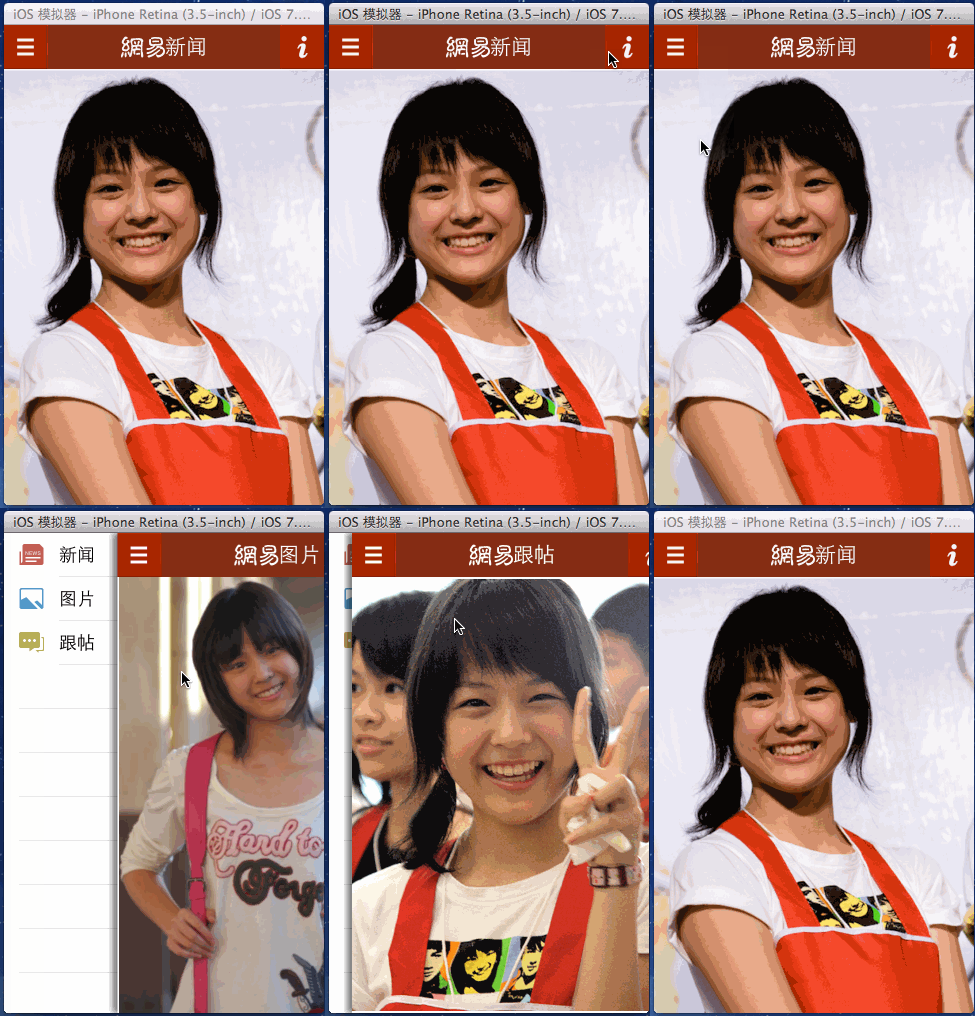
實(shí)現(xiàn)效果:
使用Quartz2D自定義View,代碼如下:
新建一個(gè)自定義的類,讓其繼承自UIView,YYimageView.h文件代碼如下:
//
// YYimageView.m
// 02-自定義UIimageview
//
// Created by apple on 14-6-22.
// Copyright (c) 2014年 itcase. All rights reserved.
//
#import "YYimageView.h"
@implementation YYimageView
//重寫drawRect:方法
- (void)drawRect:(CGRect)rect
{
[self.image drawInRect:rect];
}
@end
在主控制器中,模仿系統(tǒng)自帶的UIImageView的使用過程,實(shí)現(xiàn)同樣的效果。
//
// YYViewController.m
// 02-自定義UIimageview
//
// Created by apple on 14-6-22.
// Copyright (c) 2014年 itcase. All rights reserved.
//
#import "YYViewController.h"
#import "YYimageView.h"
@interface YYViewController ()
@end
@implementation YYViewController
- (void)viewDidLoad
{
[super viewDidLoad];
// //系統(tǒng)的UIImageview的使用
//// 1.創(chuàng)建一個(gè)UIImageView
// UIImageView *iv=[[UIImageView alloc]init];
//// 2.設(shè)置圖片
// iv.image=[UIImage imageNamed:@"me"];
//// 3.設(shè)置frame
// iv.frame=CGRectMake(100, 100, 100, 100);
//// 4.把創(chuàng)建的自定義的view添加到界面上
// [self.view addSubview:iv];
//自定義UIImageView
//1.創(chuàng)建
//2.設(shè)置圖片
//3.設(shè)置frame
//4.把創(chuàng)建的自定義的view添加到界面上
YYimageView *yyiv=[[YYimageView alloc]init];
yyiv.image=[UIImage imageNamed:@"me"];
yyiv.frame=CGRectMake(100, 100, 100, 100);
[self.view addSubview:yyiv];
}
@end
三、完善
存在的問題?
在界面上,添加一個(gè)按鈕,要求點(diǎn)擊按鈕,能夠?qū)崿F(xiàn)圖片的切換。
//
// YYViewController.m
// 02-自定義UIimageview
//
// Created by apple on 14-6-22.
// Copyright (c) 2014年 itcase. All rights reserved.
//
#import "YYViewController.h"
#import "YYimageView.h"
@interface YYViewController ()
@property(nonatomic,strong)UIImageView *imageView;
@end
@implementation YYViewController
- (void)viewDidLoad
{
[super viewDidLoad];
//系統(tǒng)的UIImageview的使用
// 1.創(chuàng)建一個(gè)UIImageView
UIImageView *iv=[[UIImageView alloc]init];
// 2.設(shè)置圖片
iv.image=[UIImage imageNamed:@"me"];
// 3.設(shè)置frame
iv.frame=CGRectMake(100, 100, 100, 100);
// 4.把創(chuàng)建的自定義的view添加到界面上
[self.view addSubview:iv];
self.imageView=iv;
//自定義UIImageView
//1.創(chuàng)建
//2.設(shè)置圖片
//3.設(shè)置frame
//4.把創(chuàng)建的自定義的view添加到界面上
// YYimageView *yyiv=[[YYimageView alloc]init];
// yyiv.image=[UIImage imageNamed:@"me"];
// yyiv.frame=CGRectMake(100, 100, 100, 100);
// [self.view addSubview:yyiv];
//添加一個(gè)button按鈕,當(dāng)點(diǎn)擊button按鈕的時(shí)候,切換圖片
UIButton *btn=[[UIButton alloc]initWithFrame:CGRectMake(100, 300, 100, 50)];
[btn setTitleColor:[UIColor blackColor] forState:UIControlStateNormal];
[btn setTitle:@"點(diǎn)擊切換" forState:UIControlStateNormal];
[btn addTarget:self action:@selector(btnClick) forControlEvents:UIControlEventTouchUpInside];
[self.view addSubview:btn];
}
-(void)btnClick
{
UIImage *image=[UIImage imageNamed:@"psb.jpeg"];
self.imageView.image=image;
}
@end
點(diǎn)擊按鈕后,實(shí)現(xiàn)圖片的切換。
說明:系統(tǒng)的UIimage可以替換。而自定義imageview不會(huì)變換,因?yàn)樽远x的view要想換圖片,需要重新繪制并渲染一次圖片。所以在拿到替換圖片的時(shí)候,需要重新繪制一次圖片,重寫setimage方法。
完善后的代碼如下:
主控制器中,YYViewController.m文件的代碼:
//
// YYViewController.m
// 02-自定義UIimageview
//
// Created by apple on 14-6-22.
// Copyright (c) 2014年 itcase. All rights reserved.
//
#import "YYViewController.h"
#import "YYimageView.h"
@interface YYViewController ()
@property(nonatomic,strong)UIImageView *imageView;
@property(nonatomic,strong)YYimageView *yyimageView;
@end
@implementation YYViewController
- (void)viewDidLoad
{
[super viewDidLoad];
// //系統(tǒng)的UIImageview的使用
//// 1.創(chuàng)建一個(gè)UIImageView
// UIImageView *iv=[[UIImageView alloc]init];
//// 2.設(shè)置圖片
// iv.image=[UIImage imageNamed:@"me"];
//// 3.設(shè)置frame
// iv.frame=CGRectMake(100, 100, 100, 100);
//// 4.把創(chuàng)建的自定義的view添加到界面上
// [self.view addSubview:iv];
// self.imageView=iv;
//自定義UIImageView
//1.創(chuàng)建
//2.設(shè)置圖片
//3.設(shè)置frame
//4.把創(chuàng)建的自定義的view添加到界面上
YYimageView *yyiv=[[YYimageView alloc]init];
yyiv.image=[UIImage imageNamed:@"me"];
yyiv.frame=CGRectMake(100, 100, 100, 100);
[self.view addSubview:yyiv];
self.yyimageView=yyiv;
//添加一個(gè)button按鈕,當(dāng)點(diǎn)擊button按鈕的時(shí)候,切換圖片
UIButton *btn=[[UIButton alloc]initWithFrame:CGRectMake(100, 300, 100, 50)];
[btn setTitleColor:[UIColor blackColor] forState:UIControlStateNormal];
[btn setTitle:@"點(diǎn)擊切換" forState:UIControlStateNormal];
[btn addTarget:self action:@selector(btnClick) forControlEvents:UIControlEventTouchUpInside];
[self.view addSubview:btn];
}
-(void)btnClick
{
NSLog(@"按鈕被點(diǎn)擊了");
UIImage *image=[UIImage imageNamed:@"psb.jpeg"];
// self.imageView.image=image;
self.yyimageView.image=image;
}
@end
YYimageView.m文件的代碼:
//
// YYimageView.m
// 02-自定義UIimageview
//
// Created by apple on 14-6-22.
// Copyright (c) 2014年 itcase. All rights reserved.
//
#import "YYimageView.h"
@implementation YYimageView
//重寫drawRect:方法
- (void)drawRect:(CGRect)rect
{
[self.image drawInRect:rect];
}
//重寫set方法
-(void)setImage:(UIImage *)image
{
_image=image;
[self setNeedsDisplay];
}
@end


