首頁| 新聞| 娛樂| 游戲| 科普| 文學| 編程| 系統| 數據庫| 建站| 學院| 產品| 網管| 維修| 辦公| 熱點
(編輯:武林網)
Intel工程樣品CPU的識別方法
圖解CMOS路線和硬盤光驅跳線的
硬盤分區如何設置準確的分區空間
回眸一笑百魅生,六宮粉黛無顏色
歲月靜美,剪一影煙雨江南
蕪湖有個“松鼠小鎮”
小滿:小得盈滿,一切剛剛好!
一串串晶瑩剔透的葡萄,像一顆顆寶石掛在藤
正宗老北京脆皮烤鴨
人逢知己千杯少,喝酒搞笑圖集
搞笑試卷,學生惡搞答題
新聞熱點
疑難解答
圖片精選
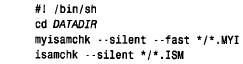
預防性維護MySQL數據庫服務器詳解
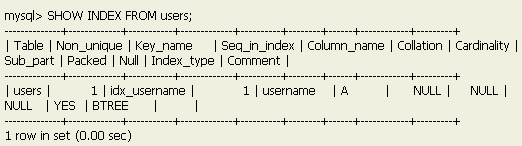
優化MySQL數據庫查詢的三種方法簡
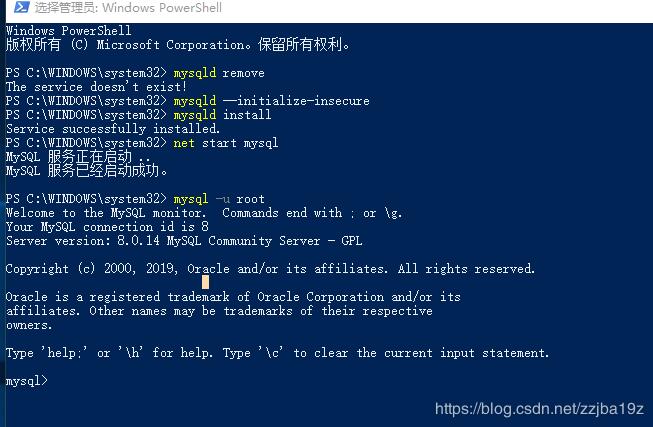
mysql8.0.14.zip安裝時自動創建dat
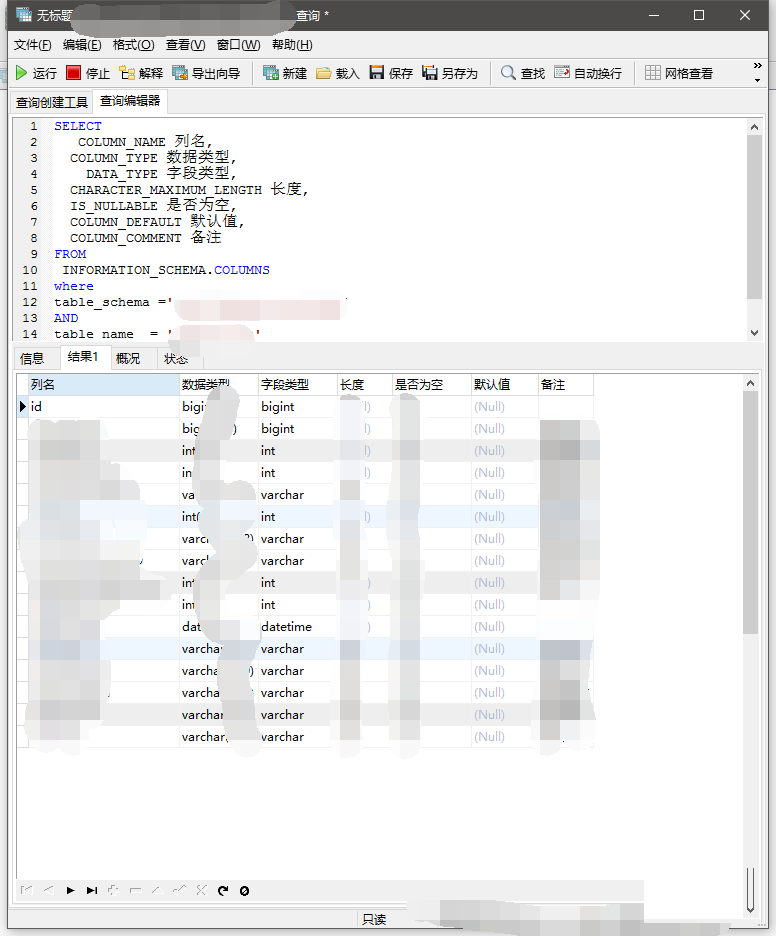
mysql導出表的字段和相關屬性的步
網友關注