今天小編跟大家分享一篇關于Android LayoutInflater的使用詳細解析,感興趣的朋友跟小編一起來了解一下吧!
在android中,LayoutInflater有點類似于Activity的findViewById(id),不同的是LayoutInflater是用來找layout下的xml布局文件,并且實例化!而findViewById()是找具體xml下的具體 widget控件(如:Button,TextView等)。
下面通過一個例子進行詳細說明:
1、在res/layout文件夾下,添加一個xml文件dialog.xml
復制代碼 代碼如下:
android:layout_width="match_parent"
android:layout_height="match_parent"
android:orientation="horizontal" >
android:id="@+id/diaimage"
android:layout_width="wrap_content"
android:layout_height="fill_parent" >
android:id="@+id/diatv"
android:layout_width="wrap_content"
android:layout_height="fill_parent" />
2、在main.xml文件中添加一個按鈕,此按鈕用于實現點擊顯示一個Dialog
復制代碼 代碼如下:
android:id="@+id/btnshowdialog"
android:layout_width="wrap_content"
android:layout_height="wrap_content"
android:text="Show Dialog" />
3、在MainActivity的onCreate方法中添加如下代碼,實現具體功能操作
復制代碼 代碼如下:
Button showdialog = (Button) findViewById(R.id.btnshowdialog);
showdialog.setOnClickListener(new OnClickListener() {
@Override
public void onClick(View v) {
AlertDialog.Builder builder = new AlertDialog.Builder(MainActivity.this);
AlertDialog dialog;
LayoutInflater inflater = getLayoutInflater();
View layout = inflater.inflate(R.layout.dialog, null);
TextView diatv = (TextView) layout.findViewById(R.id.diatv);
diatv.setText("Welcome to LayoutInflater study");
ImageView image = (ImageView) layout.findViewById(R.id.diaimage);
image.setImageResource(R.drawable.ic_launcher);
builder.setView(layout);//
dialog = builder.create();
dialog.show();
}
});
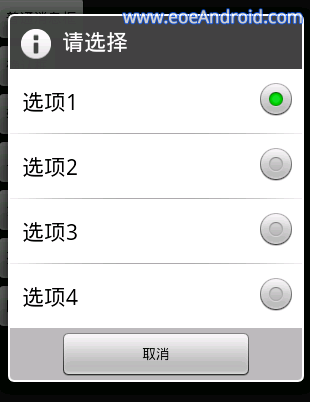
運行程序,點擊按鈕,將實現如下效果!

以上就是Android LayoutInflater的使用詳細解析了,更多相關內容請繼續關注武林技術頻道。
新聞熱點


疑難解答