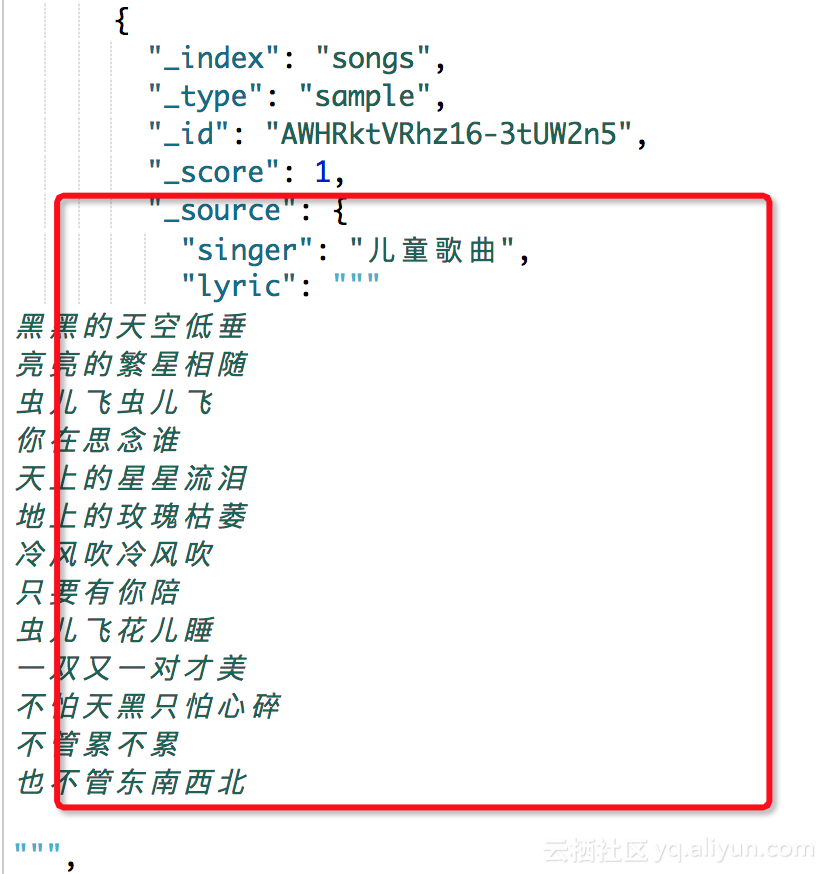
1、保存至服務器
根據路徑保存至項目所在服務器上。
String imgUrl="";//圖片地址 try { // 構造URL URL url = new URL(imgUrl); // 打開連接 URLConnection con = url.openConnection(); // 輸入流 InputStream is = con.getInputStream(); // 1K的數據緩沖 byte[] bs = new byte[1024]; // 讀取到的數據長度 int len; // 輸出的文件流 OutputStream os = new FileOutputStream("c://image.jpg");//保存路徑 // 開始讀取 while ((len = is.read(bs)) != -1) { os.write(bs, 0, len); } // 完畢,關閉所有鏈接 os.close(); is.close(); } catch (MalformedURLException e) { e.printStackTrace(); } catch (FileNotFoundException e) { e.printStackTrace(); } catch (IOException e) { e.printStackTrace(); }2、保存至本地
以瀏覽器下載的方式保存至本地。
String imgUrl="";//URL地址 String fileName = imgUrl.substring(imgUrl.lastIndexOf('/') + 1); BufferedInputStream is = null; BufferedOutputStream os = null; try { URL url = new URL(imgUrl); this.getServletResponse().setContentType("application/x-msdownload;"); this.getServletResponse().setHeader("Content-disposition", "attachment; filename=" + new String(fileName.getBytes("utf-8"), "ISO8859-1")); this.getServletResponse().setHeader("Content-Length", String.valueOf(url.openConnection().getContentLength())); is = new BufferedInputStream(url.openStream()); os = new BufferedOutputStream(this.getServletResponse().getOutputStream()); byte[] buff = new byte[2048]; int bytesRead; while (-1 != (bytesRead = is.read(buff, 0, buff.length))) { os.write(buff, 0, bytesRead); } if (is != null) is.close(); if (os != null) os.close(); } catch (MalformedURLException e) { e.printStackTrace(); } catch (UnsupportedEncodingException e) { e.printStackTrace(); } catch (IOException e) { e.printStackTrace(); }以上這篇根據URL下載圖片至客戶端、服務器的簡單實例就是小編分享給大家的全部內容了,希望能給大家一個參考,也希望大家多多支持武林網。
新聞熱點


疑難解答