本文實例講述了Android布局之LinearLayout自定義高亮背景的方法。分享給大家供大家參考,具體如下:
首先創(chuàng)建linearlayout_background.xml文件
res/drawable/linearlayout_background.xml
<?xml version="1.0" encoding="utf-8"?><selectorxmlns:android="http://schemas.android.com/apk/res/android"> <itemandroid:state_pressed="true" android:drawable="@drawable/button_pressed"/> <itemandroid:state_focused="true" android:drawable="@drawable/button_pressed"/> <itemandroid:drawable="@drawable/button_normal"/></selector>
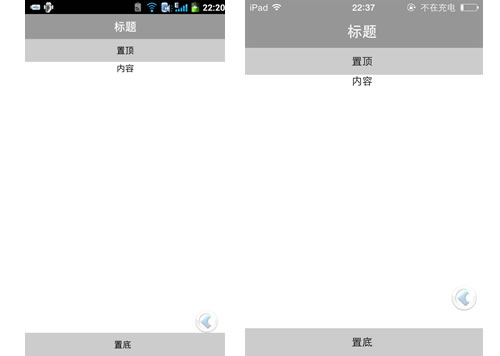
其次在對應(yīng)的xml布局文件中
<LinearLayout android:layout_height="wrap_content" android:layout_width="wrap_content" android:clickable="true"<!--這條是必須的,否則沒有高亮顯示效果,這有別于自動的button,textview等其他控件--> android:background="@drawable/linearlayout_background"> <Button ....../><TextView ...../></LinearLayout>
更多關(guān)于Android布局相關(guān)內(nèi)容感興趣的讀者可查看本站專題:《Android布局layout技巧總結(jié)》
希望本文所述對大家Android程序設(shè)計有所幫助。
新聞熱點


疑難解答
圖片精選