網上關于下拉刷新的文章也不少,不過都太長了。恰好發現了官方的下拉刷新庫,而且效果還是不錯的,簡潔美觀,用得也挺方便。
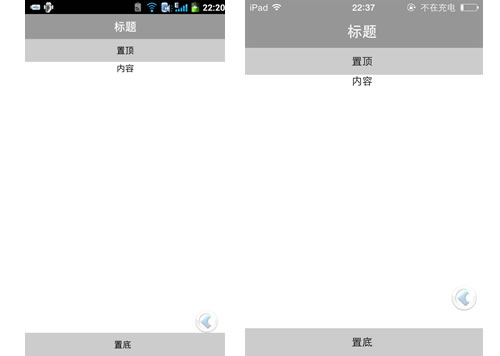
下面是效果圖:
我的好友原來是空的,刷新后多了兩個。

使用還是挺方便的,在布局文件中加入SwipeRefreshLayout ,這個就是下拉刷新的布局。
我在SwipeRefreshLayout的里面還加入了一個ListView 因為我主要用下拉刷新更新了listView里面的內容 。
布局文件:
<RelativeLayout xmlns:android="http://schemas.android.com/apk/res/android" android:layout_width="match_parent" android:layout_height="match_parent" > <android.support.v4.widget.SwipeRefreshLayout android:id="@+id/id_swipe_ly" android:layout_width="match_parent" android:layout_height="match_parent" > <ListView android:id="@+id/id_listview" android:layout_width="match_parent" android:layout_height="match_parent" > </ListView> </android.support.v4.widget.SwipeRefreshLayout> </RelativeLayout>
代碼寫到這里后,只要在主界面向下滑動到頂部,就會出現下拉刷新了。
然后我們要實例化這個下拉刷新布局,設置好它在刷新時要干什么,完成刷新后,旋轉的圖標要消失。
mSwipeLayout = (SwipeRefreshLayout) findViewById(R.id.haoyouliebiaoshuaxin);//實例化 //handler 用來更新UI的 haoyouhandler = new Handler(){ @Override public void handleMessage(Message msg) { super.handleMessage(msg); //要做的事 Item i1 = new Item(); i1.name = "呵呵"; i1.account = 25566; haoyou.add(i1); Item i2 = new Item(); i2.name = "哈哈"; i2.account = 25577; haoyou.add(i2); haoyouadpter = new liebiaoAdapter(MainActivity.this, R.layout.liebiao, haoyou); haoyoulist.setAdapter(haoyouadpter); //取消更新的動畫 mSwipeLayout.setRefreshing(false); } }; //設置監聽器 mSwipeLayout.setOnRefreshListener(new SwipeRefreshLayout.OnRefreshListener() { @Override //正在更新的時候執行什么代碼 public void onRefresh() { new Thread(new Runnable() { @Override public void run() { //等待一秒 try { Thread.sleep(1000); } catch (InterruptedException e) { e.printStackTrace(); } //發消息給handler更新UI Message ok = new Message(); haoyouhandler.sendMessage(ok); } }).start();我是在監聽器的onRefresh函數中,等待一秒,然后發消息給Handler去更新UI,更新完后再取消更新。
以上就是本文的全部內容,希望對大家的學習有所幫助。
新聞熱點


疑難解答
圖片精選